
If you’re just starting out in photography, and want to boost your skills, sooner or later you’ll hear the phrase, “3-point lighting.” That’s because photographers and other image-makers have used three separate light sources for countless generations.
“And why is that?” you ask.
Let’s take it from the top.
Forming Shadows is the “Key”
The first light in the 3 point lighting setup is called the “main” or key light because it plays a “key” role in illuminating faces (or anything else) and in the crafting of shadows. If you could use only one light, the key light would be it.
It’s your most important — and creative — light source in the three point lighting model.
We love shadows! Without them, everything looks “flat.”
But when your key light creates shadows on the subject’s face, they’re apt to be way too dark.
We can’t let our portrait go around like that, now can we?
So who you gonna call? Shadow busters?
Send in the Clouds (or Maybe Just a Big Fill Light)
I introduce you to the second actor in our three-point lighting setup — the fill light. Can you guess why it’s called the “fill?” No, it isn’t short for “Phillip.”
Imagine a face with the aforementioned harsh (excessively dark) shadows.
Fill light to the rescue!
Modified to be as large and soft as practical, you’ll use this faithful light source to deal with key light shadows.
Stay Attached to Your Separation Light
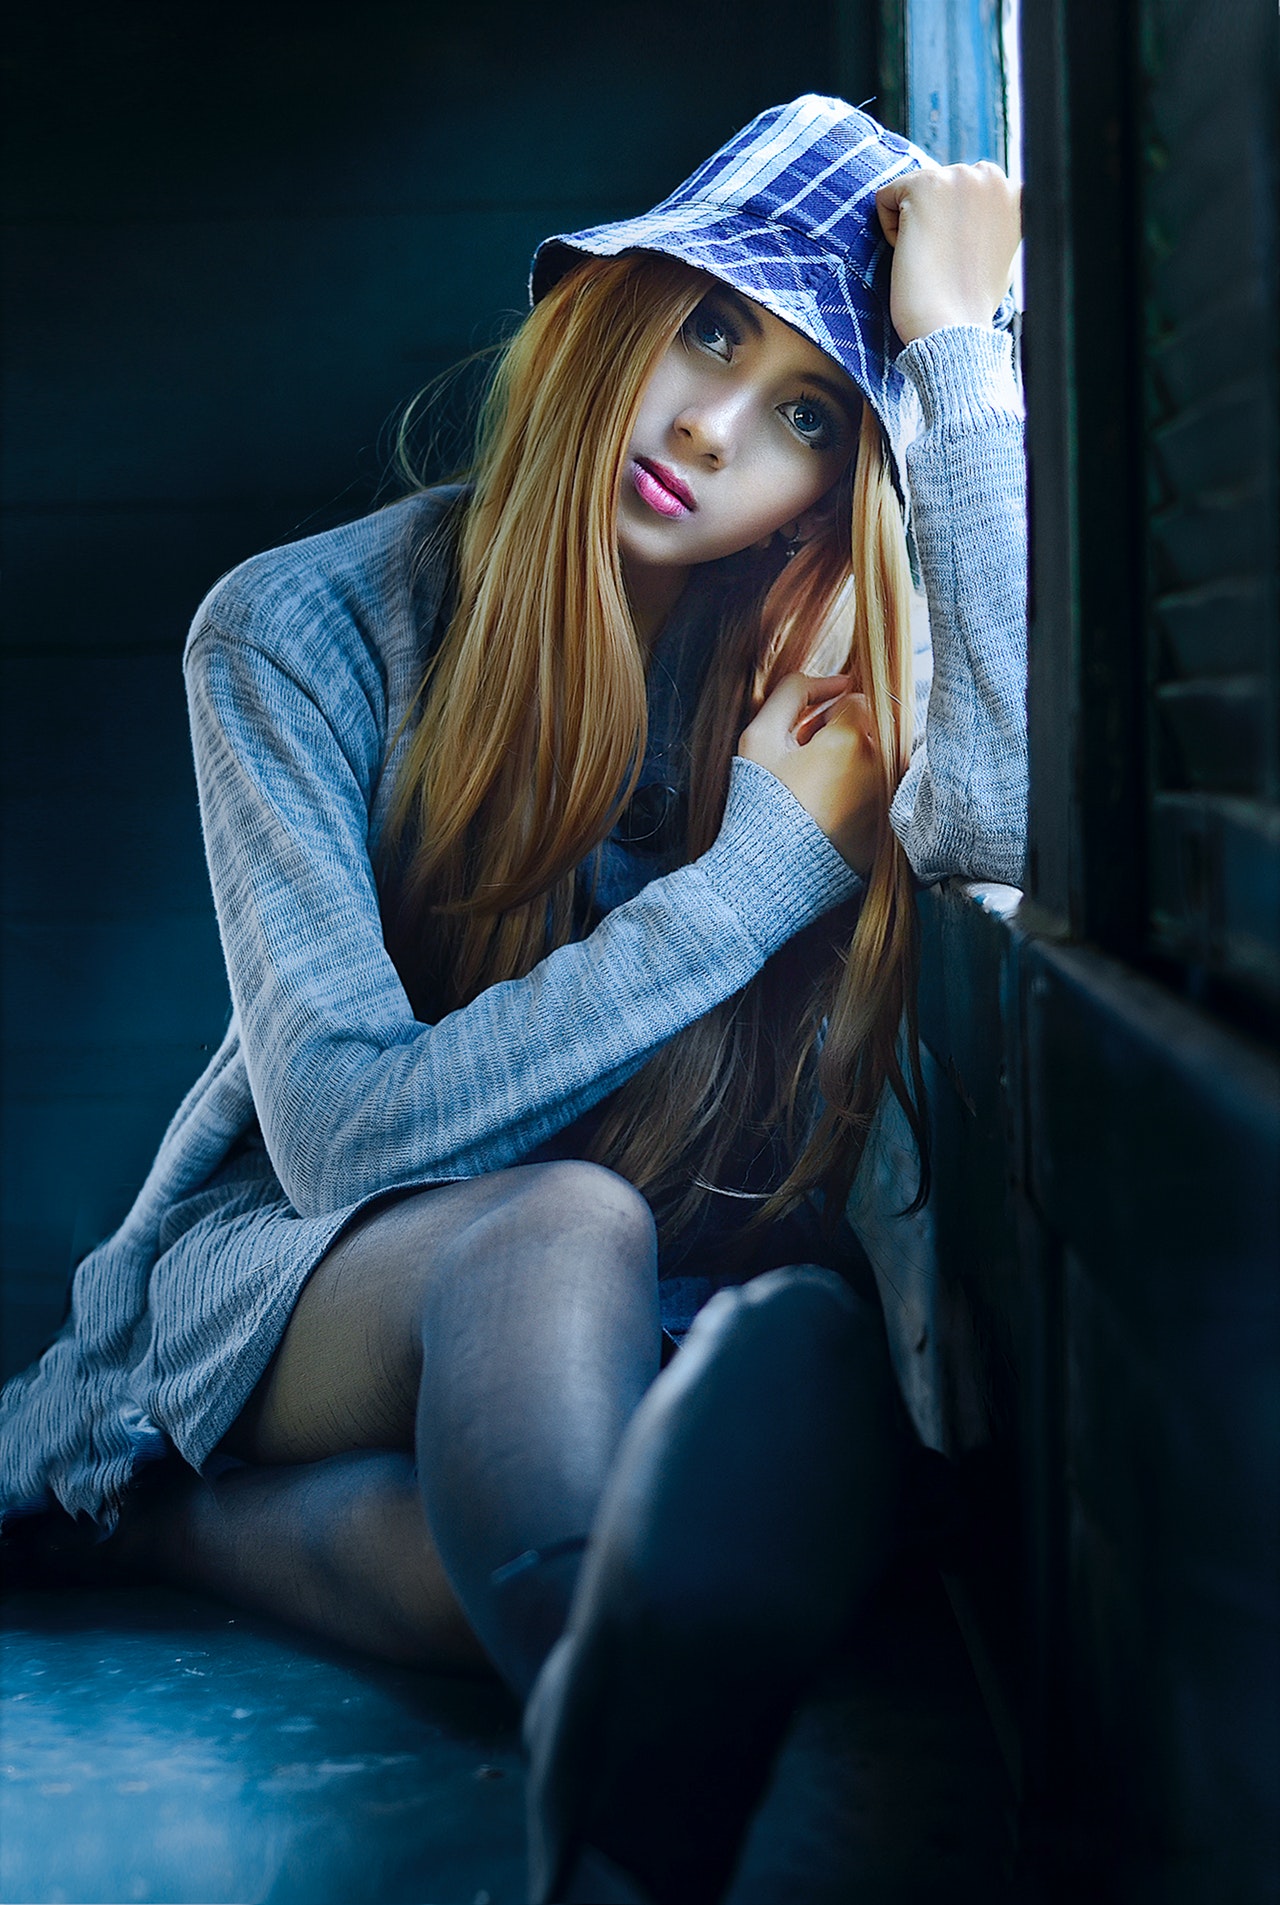
Now we have a face with acceptable shadows. Looking good, right? Except the subject’s hair is a bit dark, and her sweater is the shade and color of our favorite new background.
We can’t tell the subject from the background.
What to do, what to do?
We could throw some light on the background, but we’d rather not. And besides — there’s still the hair.
This unsung hero of our three point lighting setup goes by many names.
I learned it as the hair light, while others swear by back light, separation light, or rim light. It doesn’t really matter, as all the names apply.
This separation light, we’ll call it, is a broad-angled source, placed high behind your subject. It creates a mild “rim” of light for separation from the background, a splash of light across both shoulders, and a sparkle to the hair.
But where do we place our lamps for each of these three point lighting functions?
By the way, for this instructional, note that “lights” and “lamps” are often used interchangeably.
Key Light Placement
The typical position for the key light is in front of and higher than your subject’s face. Just how high, and the exact angle of illumination is determined by the effect you have in mind. Also, you may want to use a light modifier with your key, such as a softbox or a photo umbrella for their soft, “wraparound” effects.
Regardless of the modifier, or the size of the reflector, most professionals position their lamps as close as possible to the subject without them showing in the picture. It’s convenient, also, as it allows for close inspection of the shadows created.
The rule for ALL photo lamps is: The larger and/or closer to the subject, the softer and more controllable the light.
Position the Fill Light
In this 3-point lighting setup, the function of the fill light is to flood the subject’s face with soft, broad light to “open up” your key light shadows.
Don’t “erase” the shadows. Shadows are good. Just throw a little light in there to lift the underlying detail.
An incidental note: If you search the internet, you’ll find a slew of articles on “three point lighting,” where the placement of the fill light is directly opposite the key.
While I’m certain this method yields some good results, I do NOT recommend this placement, nor do I use it in my own work.
For one thing, there’s a danger of creating double shadows from the nose. In addition, you’ll spend a lot of time away from the camera, repositioning the lamp and even changing it from one side of the subject to another.
My preferred tack is to equip the fill lamp with the largest softbox or umbrella practical and align the center straight into the subject’s nose. The idea is to light both sides of the subject’s face equally, with no shadows, and a brightness of around one half that of the key.
For my personal 3-point lighting setup, I painted white an 8 ft. x 12 ft. section of the wall behind my camera, from which I “bounce” two strobe lamps straight in toward the subject.
The sheer size of my improvised “light modifier,” plus the ambient light from the camera room at large, make it pretty much impossible for shadows to hide.
Where to Place the Separation Light
As previously mentioned, the separation light should be a broad source, placed high and directly behind the subject.
There are a couple of ways to do this. If you have a studio, or a permanent place to shoot, you can mount your separation light high on the wall or ceiling behind “ground zero,” (what we call the area where we plant our subject).
For a three-point setup at weddings or remote shoots, you can mount your lamp on a sturdy stand and boom. Just be sure it can’t be seen behind the subject.
Let’s make a three-point lighting checklist here:
- Place the key light close to the face
- Consider a soft “modifier” for key and fill
- Use a large modifier for the fill light
- Aim the fill light straight at the subject’s nose
- Use a broad source for separation light
- Mount the separation light high on the back wall or use a boom
A bird’s eye view of all your three point lighting placements could look like this:

How to Use the Key Light
Here are three of the classic lighting techniques for portraits. It’s where we separate the sheep from the goats, where the rubber meets the road, and a dozen similar clichés you may have heard.
We’ll start with an easy one.
Butterfly Lighting
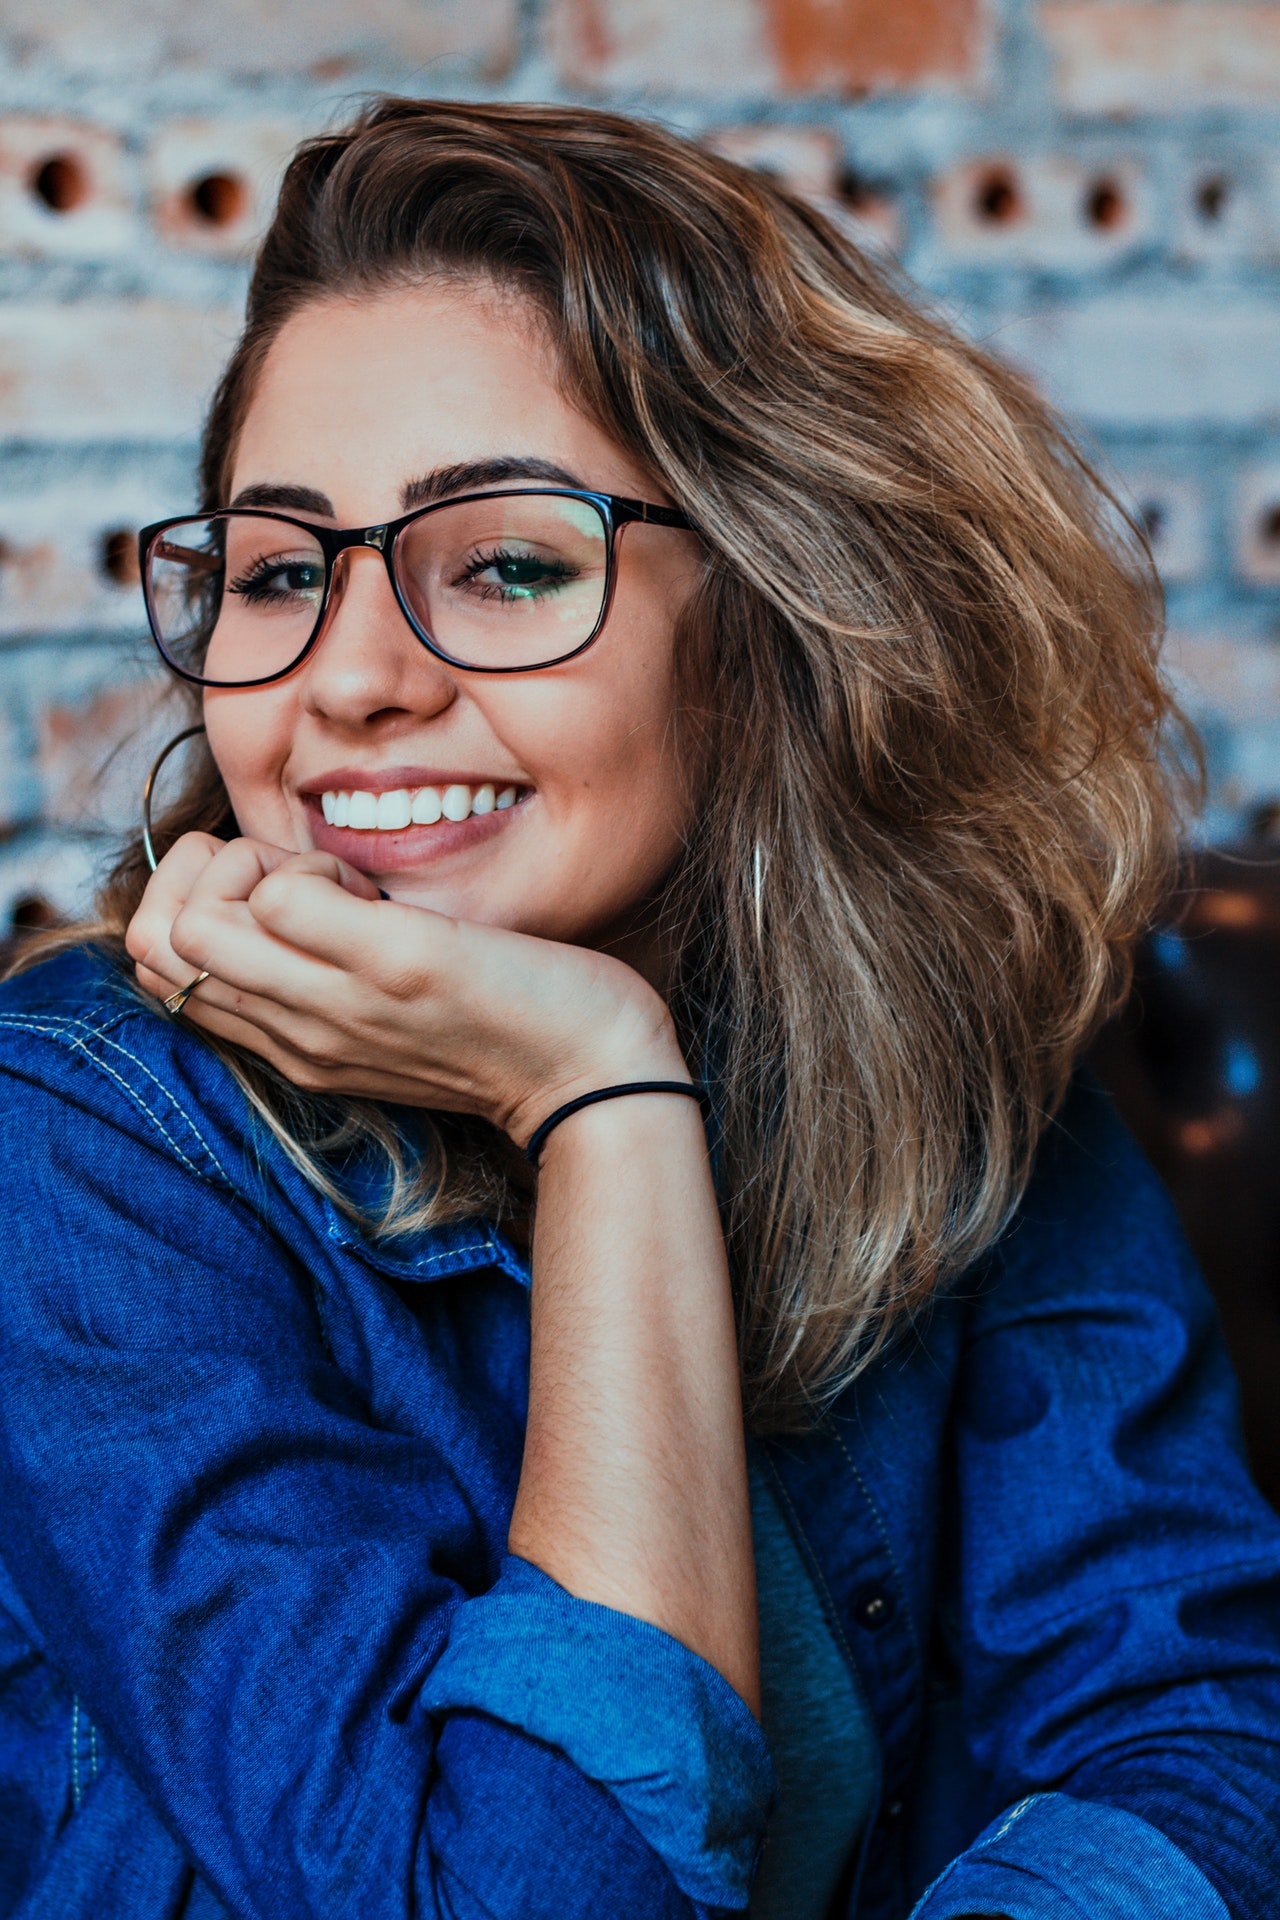
Also known as “Hollywood” lighting, this works well for any subject, but especially younger women.
When you’ve posed your subject, bring the key light high and directly above her face. The effect will be a “butterfly” shadow just beneath her nose.
As a bonus, you’ll see a soft shadowing of her face beneath the cheekbones, resulting in a slimming effect. To control the length of the butterfly, adjust the height of the key light. Just never let the shadow extend into her lips
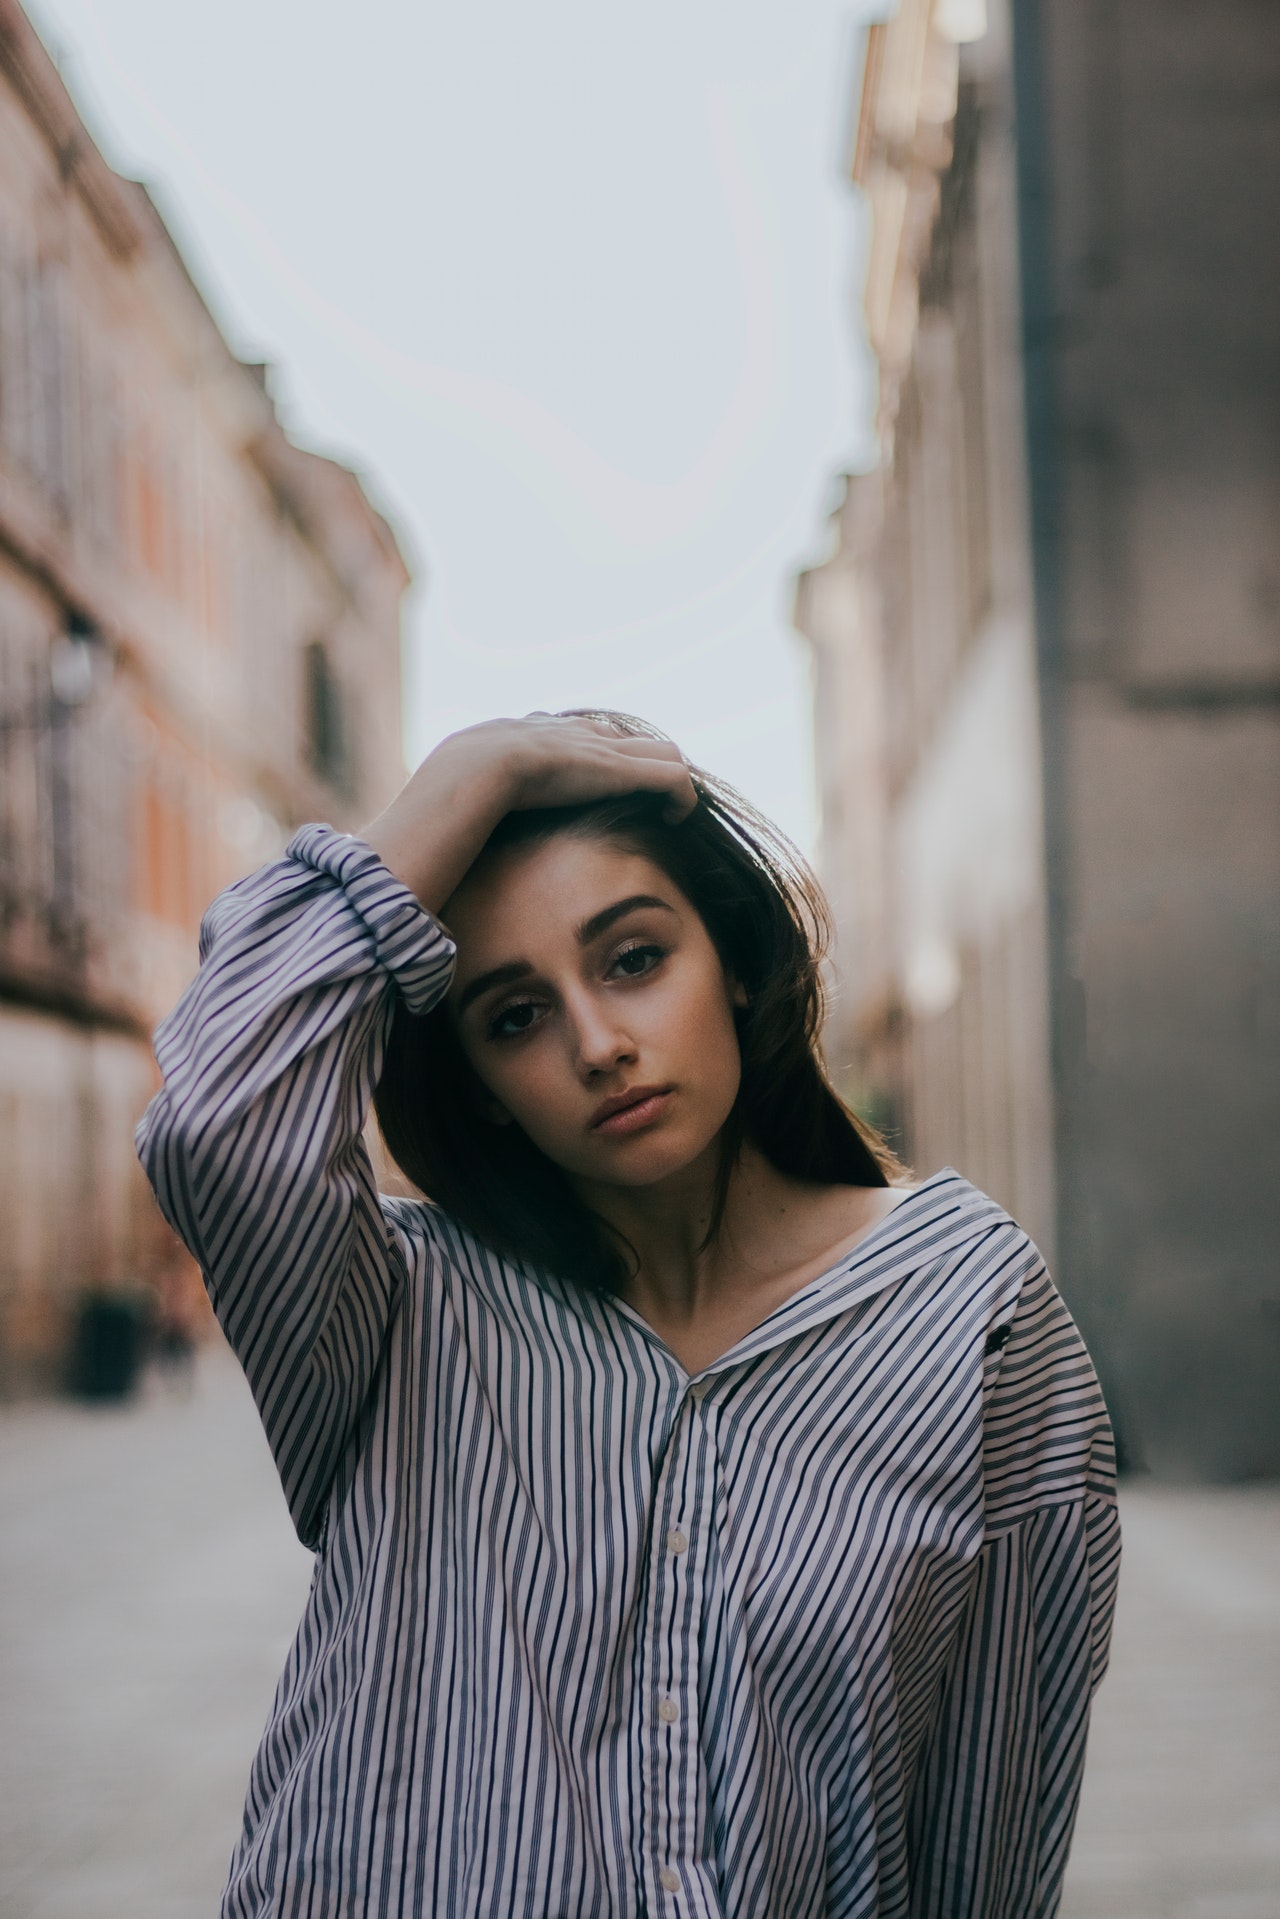
Loop Lighting
Since you’re in the neighborhood, move your key light further around the side of your subject. Watch for it, and . . . Voila! The “butterfly” becomes what portrait people call a “loop.” It stretches down and into the opposite side from the light.
Now your subject’s “lamp side” is fully in the light, while her shadow side goes slightly darker.
A photo rule to live by: For all lighting styles, when the shadows appear on the side nearest the camera, that’s called short lighting, which will have a slimming effect on the face. When the shadows are opposite from the camera it’s called broad lighting, and is best for narrow faces.
So, you could have short loop lighting, for example, or broad loop lighting.
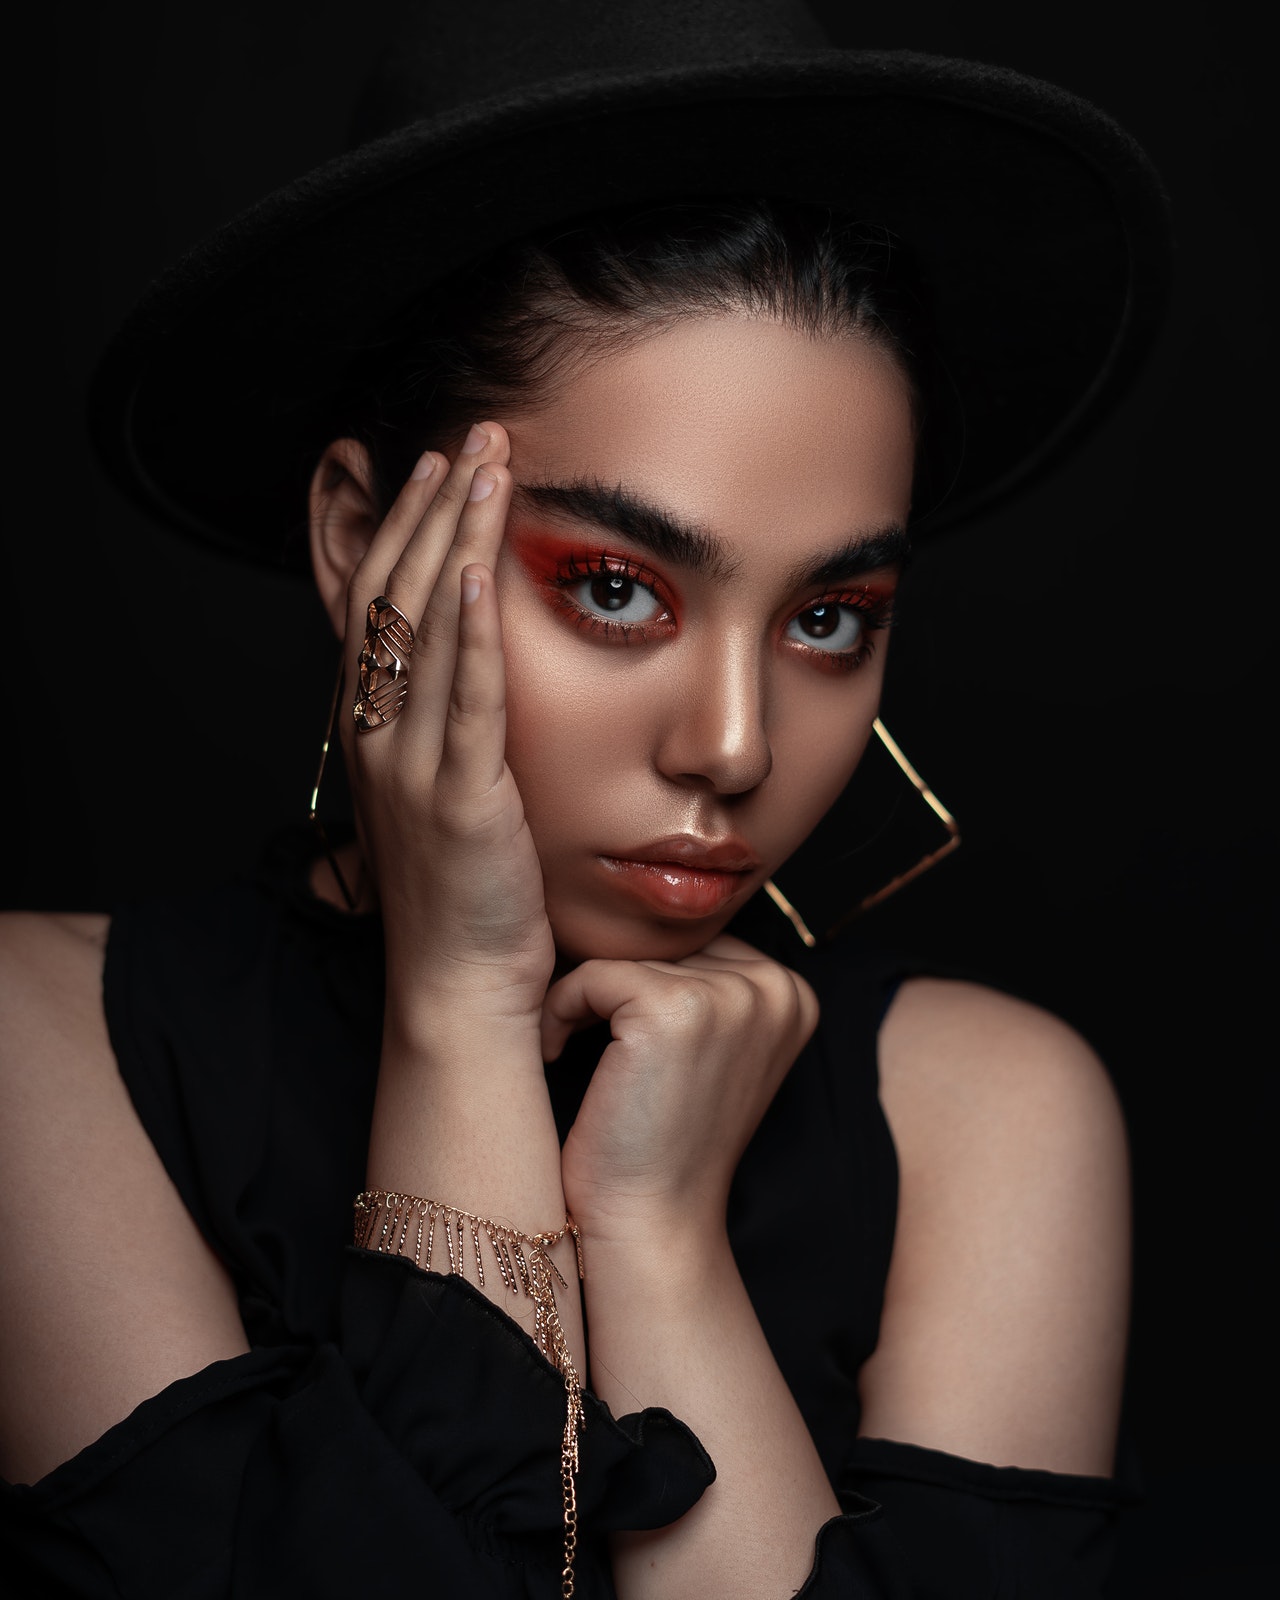
Rembrandt Lighting
Want to make portraits like a Dutch Master? Well here’s your chance.
This one’s tricky, though, and takes a little practice. This style of lighting got its name from the great Rembrandt Harmenszoon van Rijn, a 17th century painter who used it a lot.
Since his first name somehow had a greater “ring,” we call it “Rembrandt” lighting.
“Harmenszoon lighting?” Nah.
So you’ve mastered the loop lighting trick, right?
Congratulations, but don’t sit down. Pull your key lamp further toward the back of your subject and watch the shadow from her nose.
The idea is that the shadows created will merge with another and form an attractive triangle.
As the shadow from her nose moves forward, the shadow on the far side of her face will advance to meet it.
What you’re watching, and adjusting for, is the point where the two shadows meet near the bottom of her cheek. As that happens, a third shadow, formed by her brow, should complete a soft “triangle”of light on the side of her face.
The three sides of the triangle consist of:
- The shadow from her nose coming down and around the face
- The shadow on the side of her face opposite the lamp
- The shadow below her brow
If the pattern on her cheek is open at the top and her eye illuminated, try raising the key a little higher.
Special note: If your subject has something of a “flat” face, he or she may not be a fit for Rembrandt lighting. To pull this off, the subject’s brow must be prominent enough to shield the light from the area of the eye and thus complete the triangle.

In the old days we loaded our cameras with that crazy stuff — what do you call it? Film, that’s it!
Anyway, to make the best photos we had to understand “exposure.”
That meant measuring the light and making adjustments to cameras and lamps. Even with today’s whiz-bang digital miracles that can display our shots in half a second, this is still a good idea.
Handheld “light meters” for “continuous burn” lamps, and “flash meters” for strobe equipment (which I recommend), indicate light intensity in “stops.”
A stop has no “absolute” meaning, but refers to twice the light volume of the stop below it — or half the power of the stop above.
It’s easy, really.
If lamp “A” is one stop brighter than lamp “B,” that means it’s 2 times brighter. If A is two stops brighter than B, it’s 4 times brighter . . . 8 times, 16 times, 32, and on and on and on.
A good place to start your exposures would be with your key light twice as bright as the fill. A light or flash meter will show you when your key light is one stop higher than the fill, and therefore pumping twice the power.
For your own creativity, you can experiment with 1½ stops, 2 stops, etc.
Just remember these points:
- Use a meter to measure your light
- Photographic light is measured in “stops”
- A stop is twice the power of the one below it
- A stop is half the power of the one above it
- Example: 1, 2, 4, 8, 16, 32, 64 . . . .
Conclusion
The three point lighting system has been the core of solid, reliably produced imagery for many generations — long before the first photograph was made.
And while this instructional features studio lighting, you can often improvise your own in remote situations.
Make your outdoor shots on cloudy days, or use reflective white or silvered art boards as “fill lights.” As an alternative, adjust your on-camera flash to tame unruly shadows.
If you’re a wedding shooter, use a window — stained or otherwise — as your light source. And if you need to, use your on-camera flash as a fill. You can always find alternative light sources.
I’m sure you “get the picture,” and now you have the basic ammunition. Stay safe out there, and happy shooting!