
You have a great shoot, but upon review of your photos, you realize that you didn’t quite capture that dreamy, blurry background effect you were hoping to make with your camera.
Adobe Lightroom to the rescue!
Today you will learn how to blur the background in Lightroom photo editing in these three ways.
- Brushes
- Graduated Filters
- Radial Filters
Using these methods, save time, and make your photos perfect.
Better backgrounds are just a few clicks away!
Let’s start with the adjustment brush which is going to offer you the most control.
Using Brushes
The brush tool is an awesome editing hack for blurring a background image in Lightroom. By changing the brush size, you can effectively blur the background in all the right places and get the dreamy, custom effect you want for your images.
Here’s the simple steps in Lightroom to blur your backgrounds using brushes
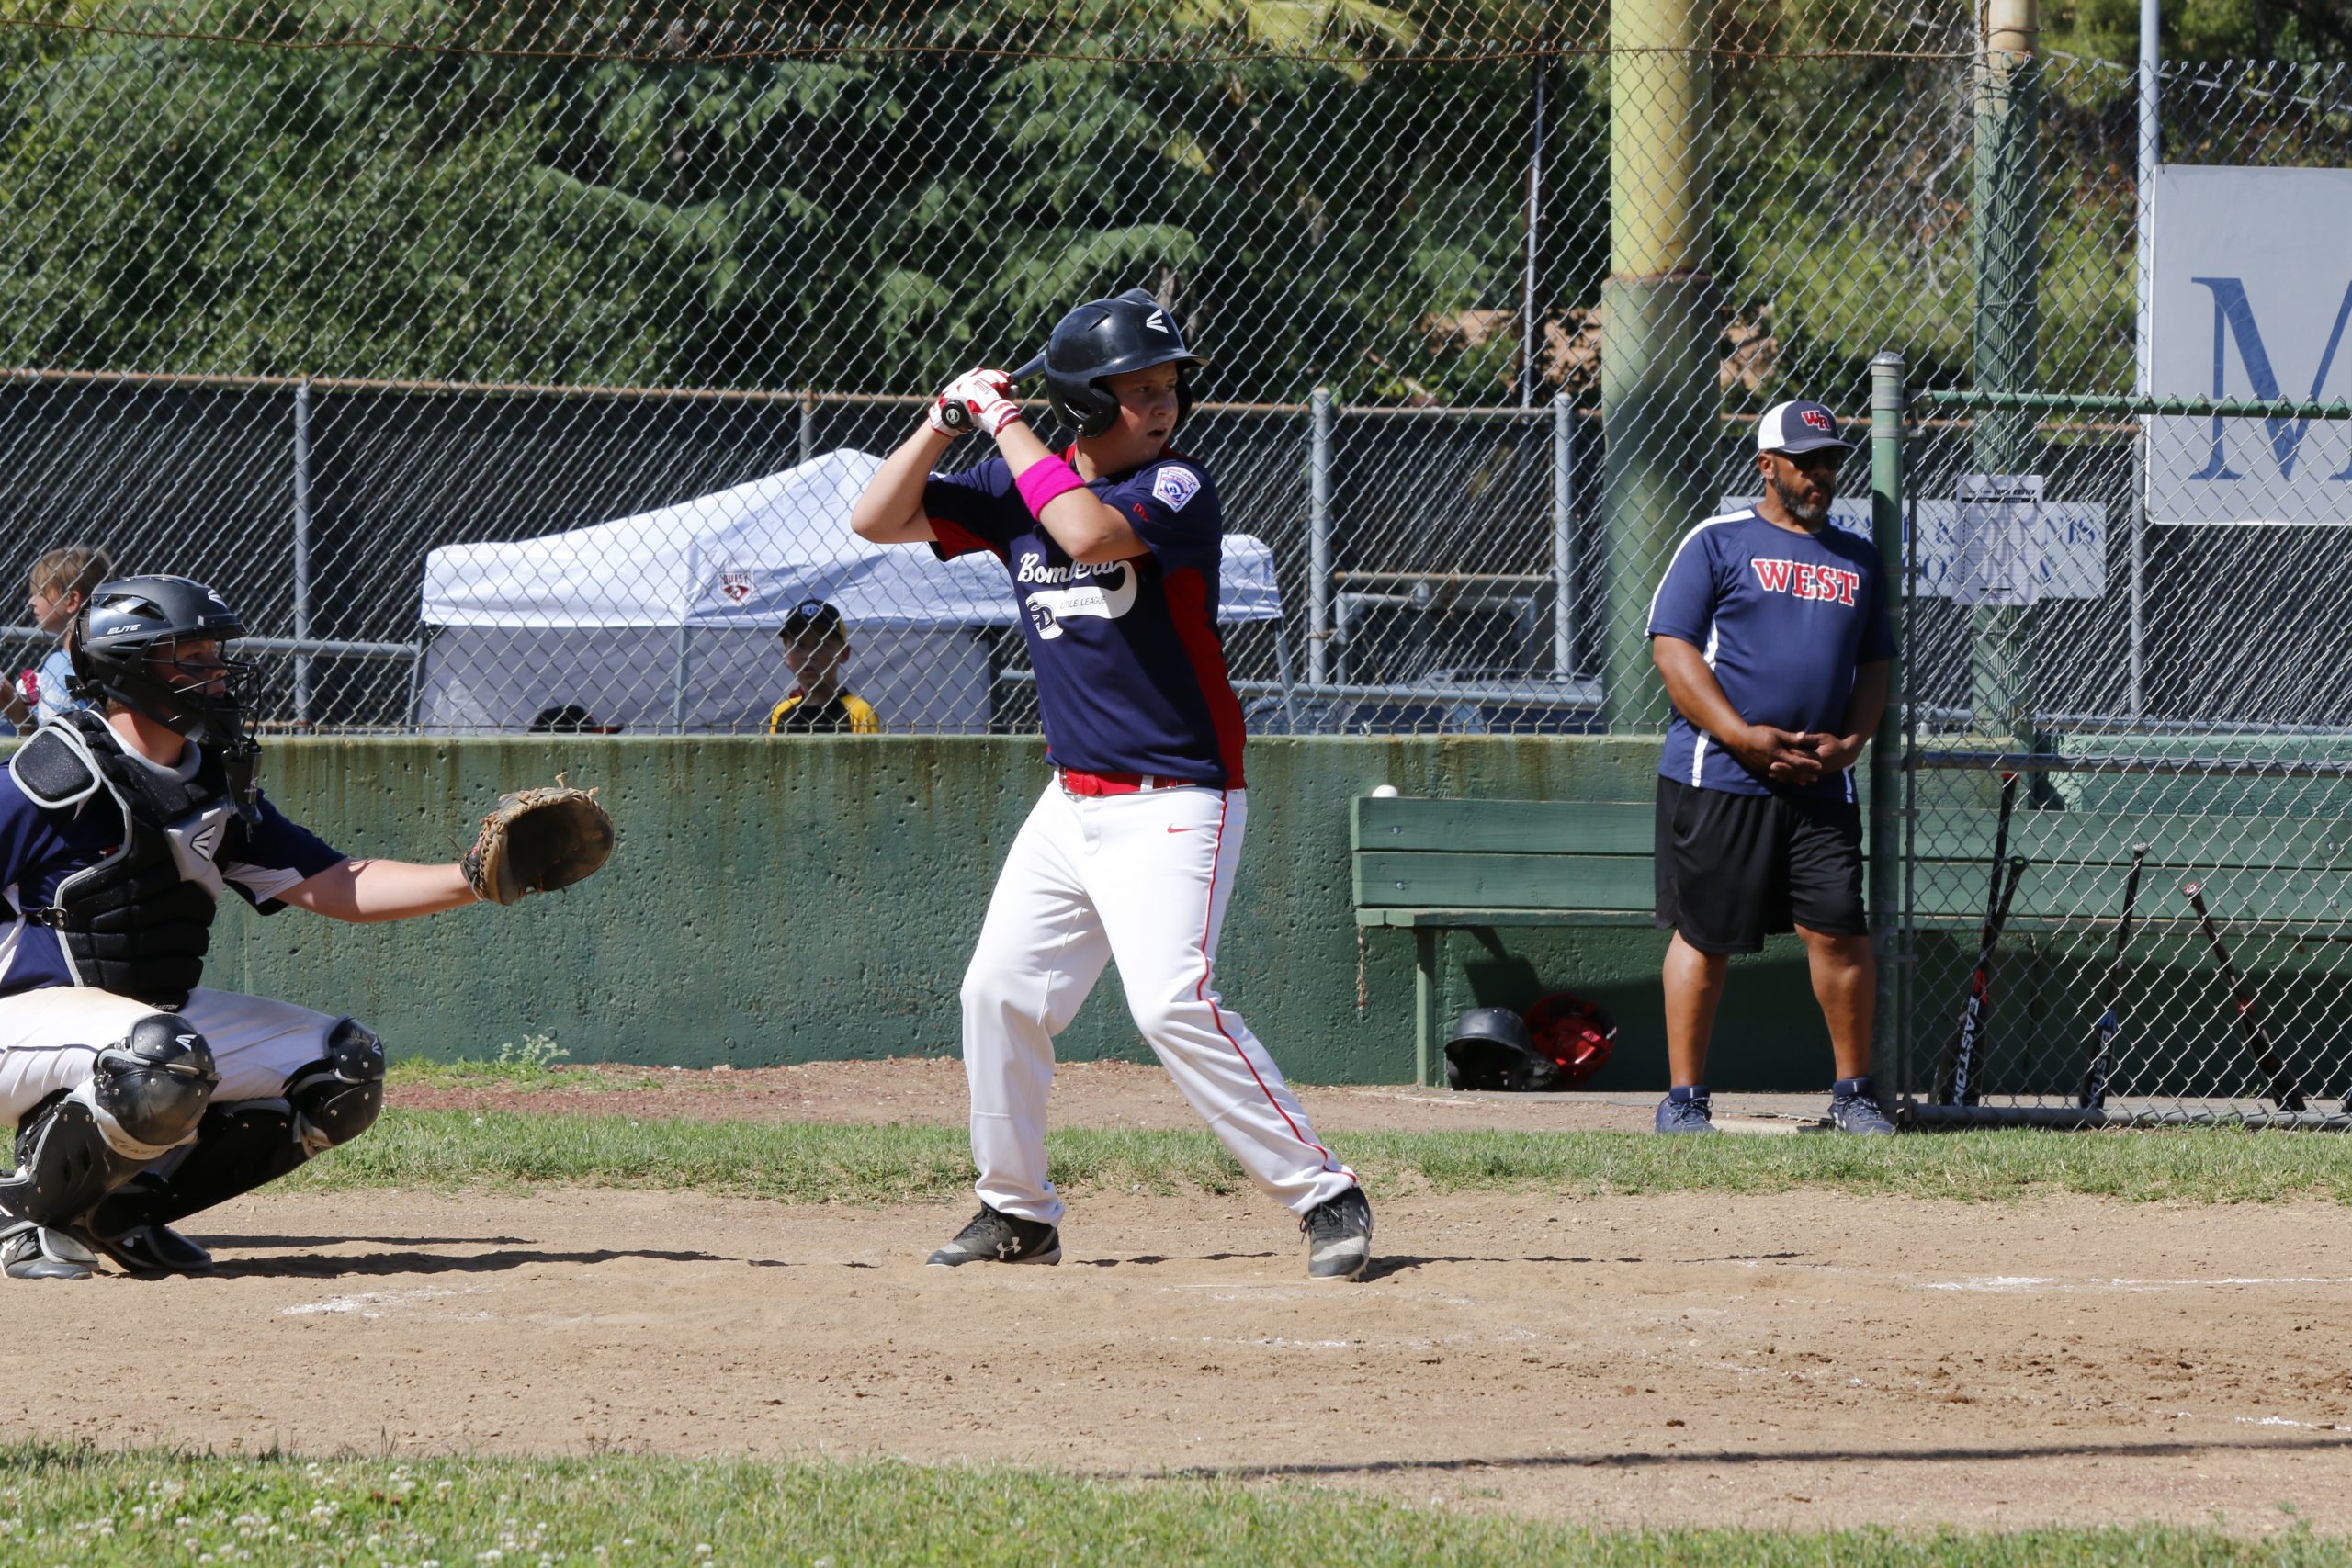
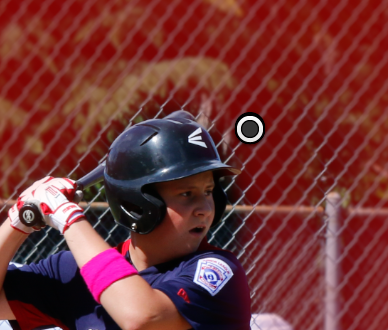
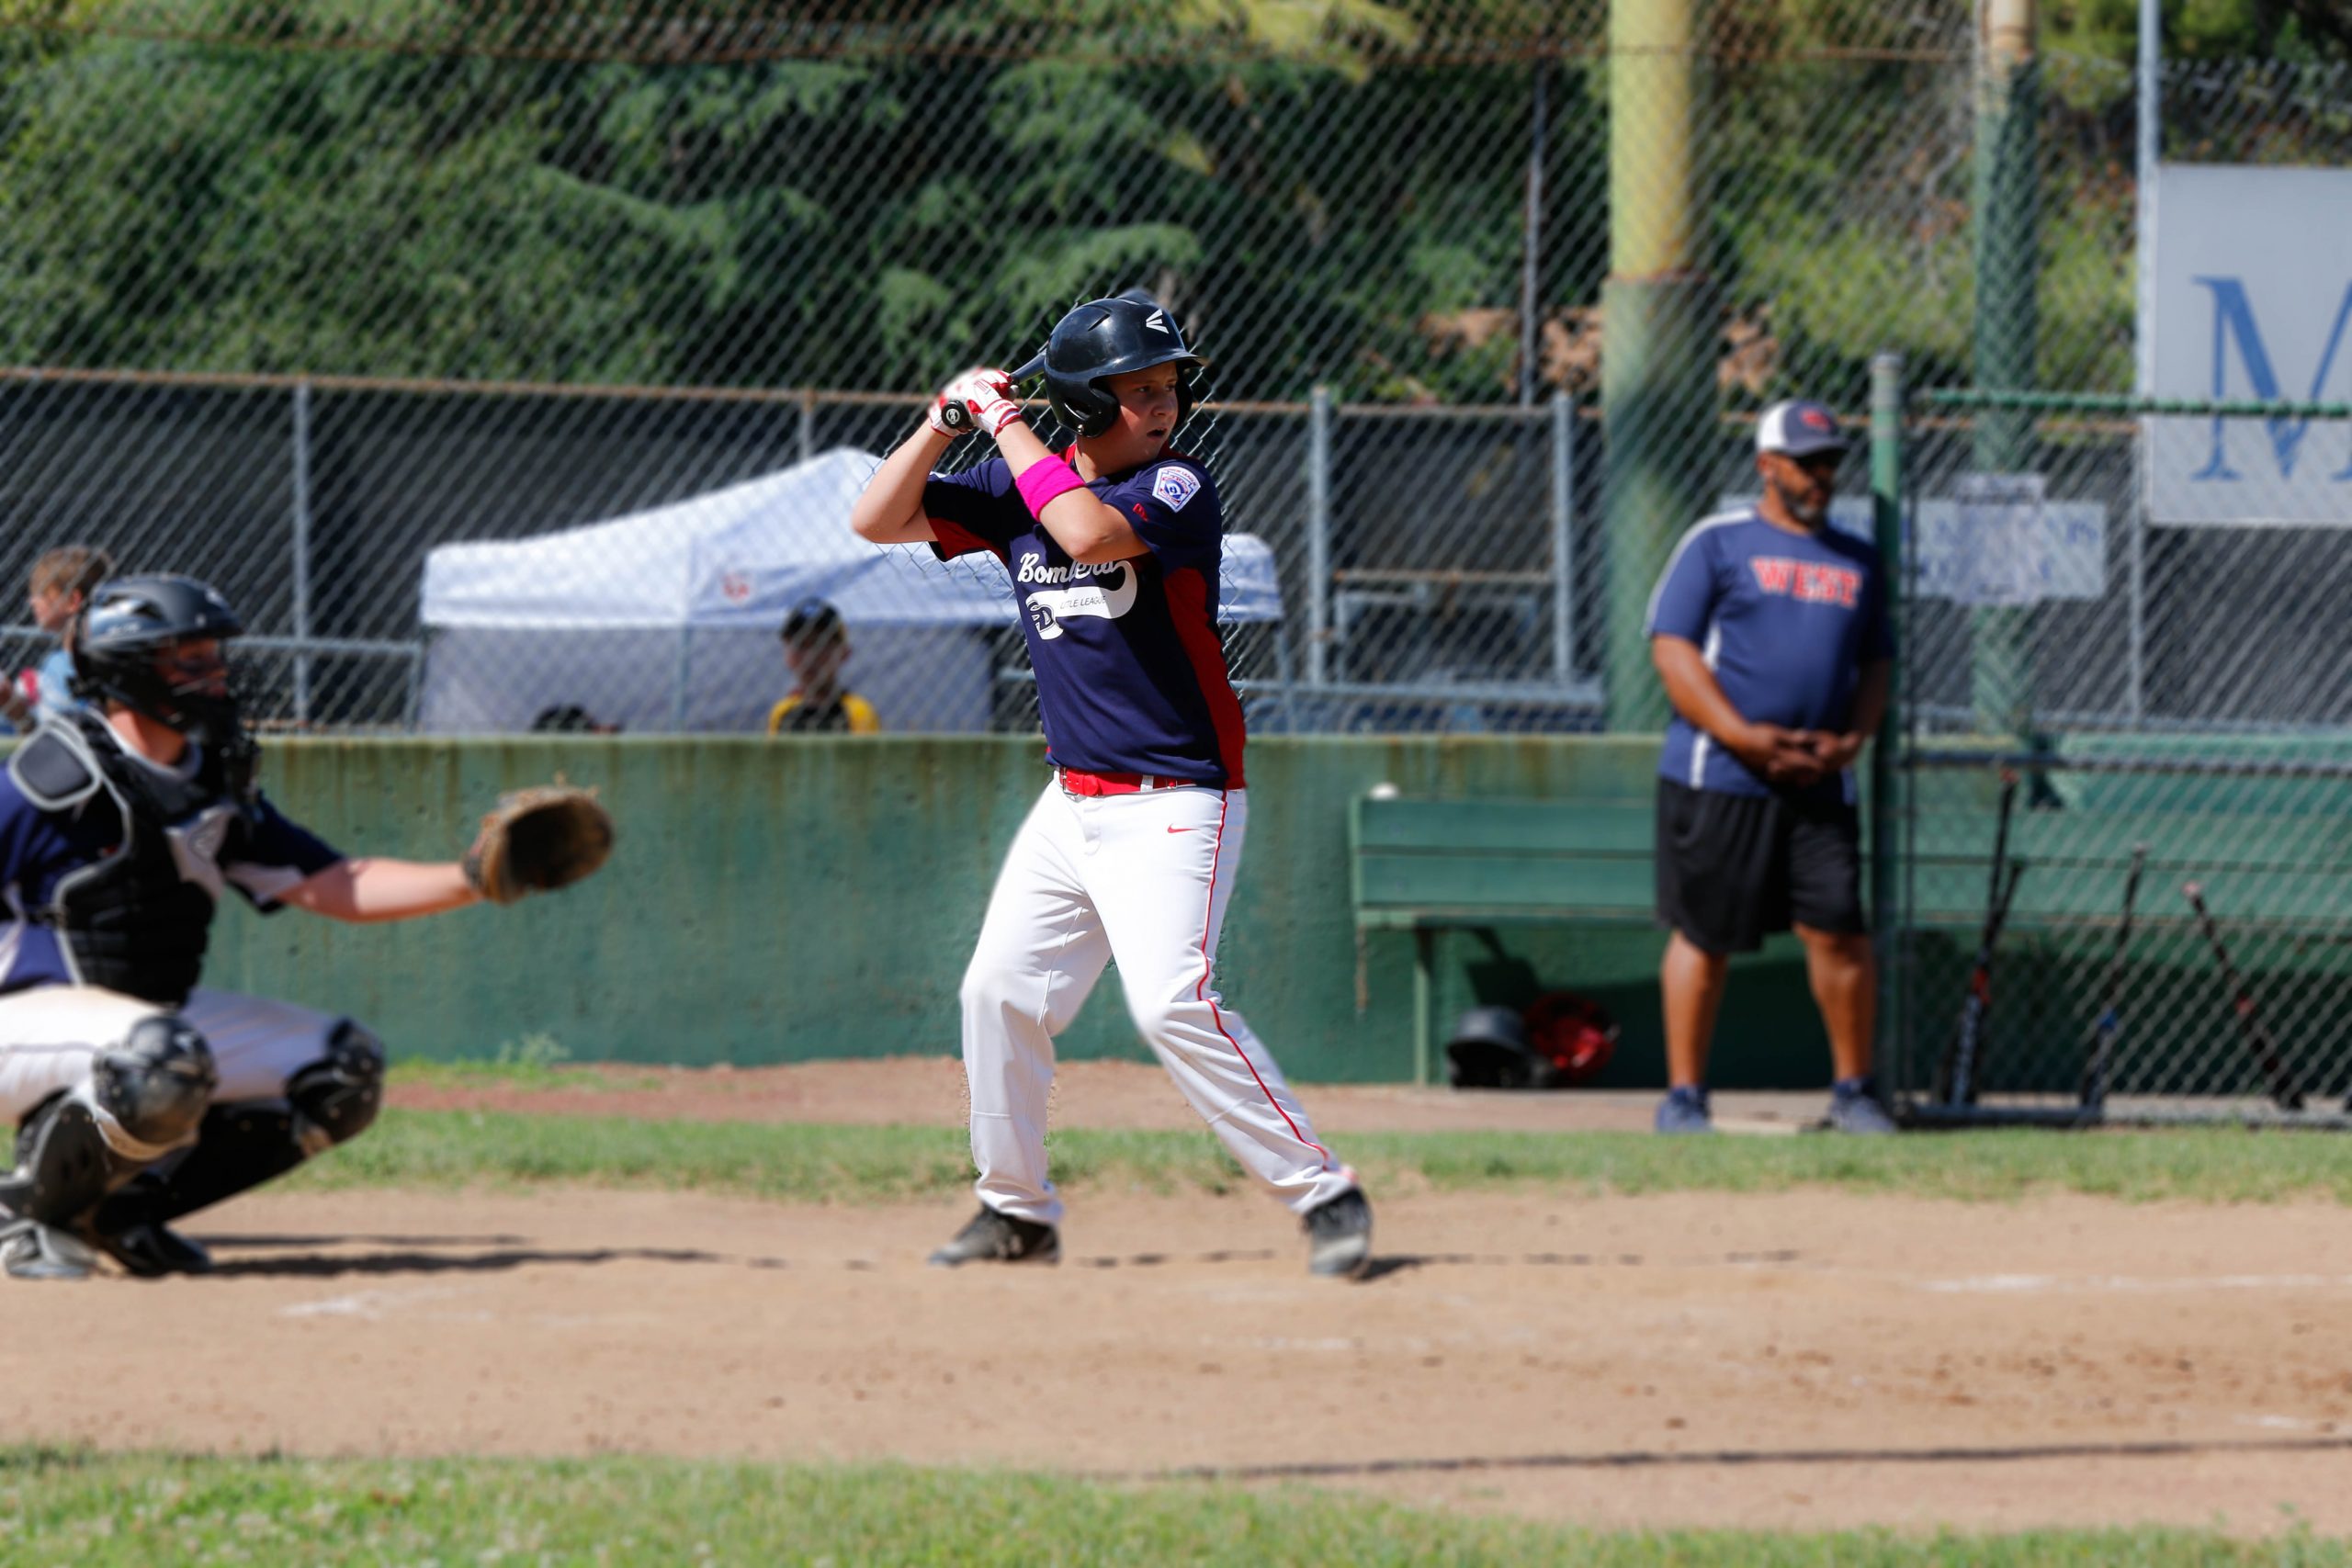
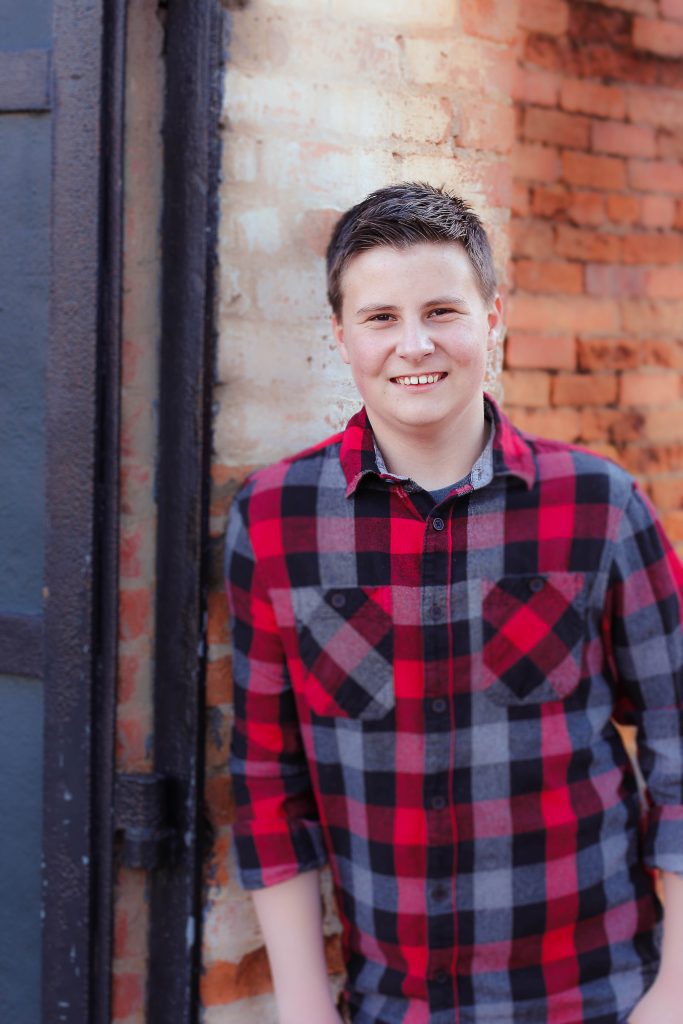
Here is my SOOC photo:
Let’s dive in.
Note:
If you haven’t already, import your images and go to the Develop module in Lightroom.
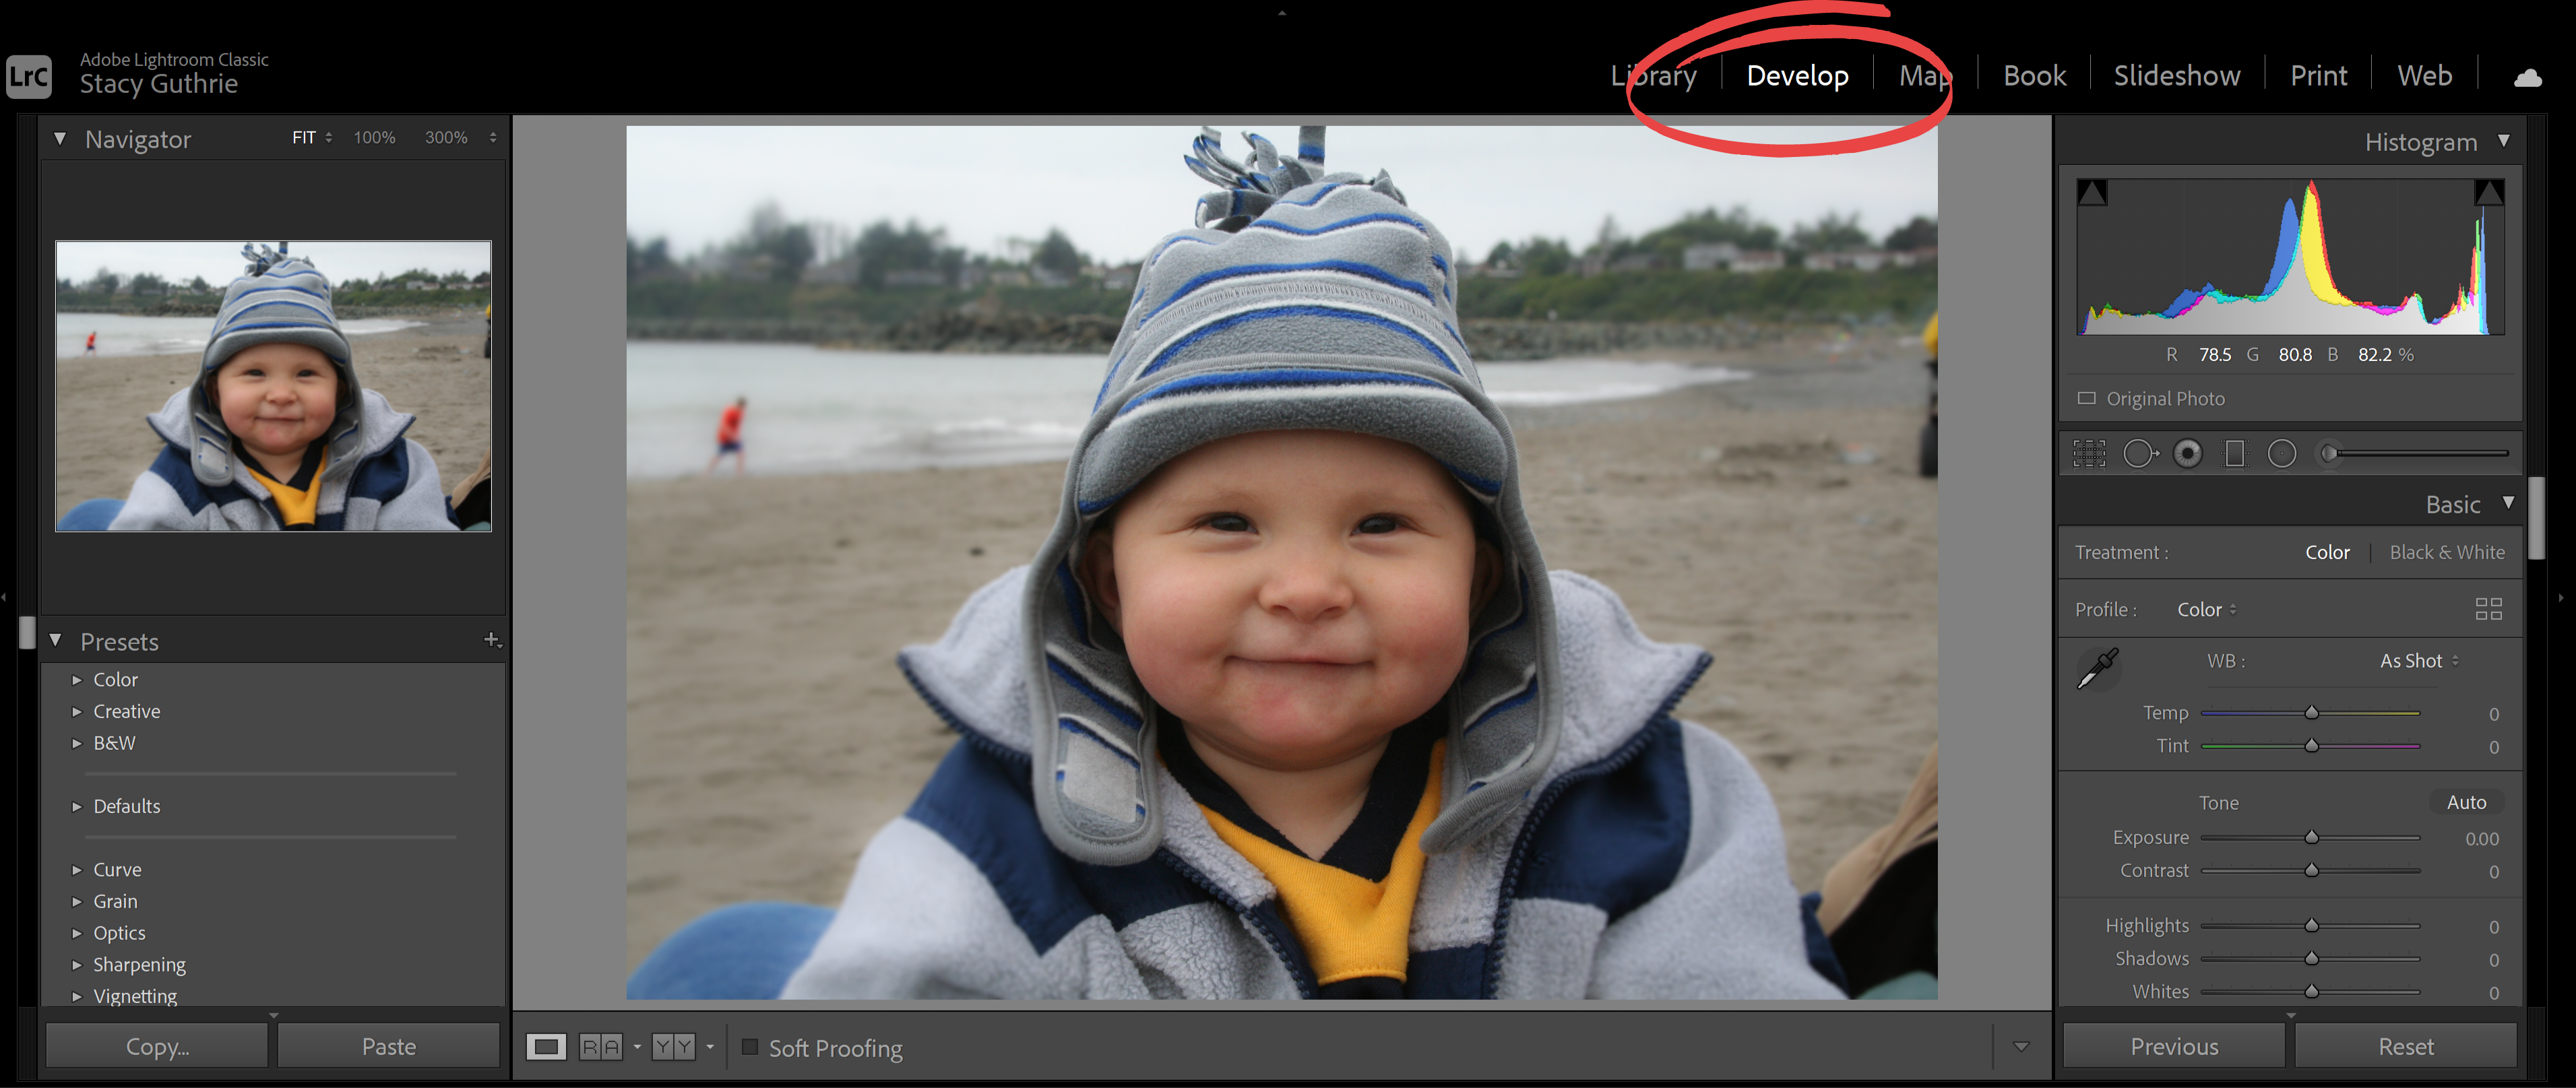
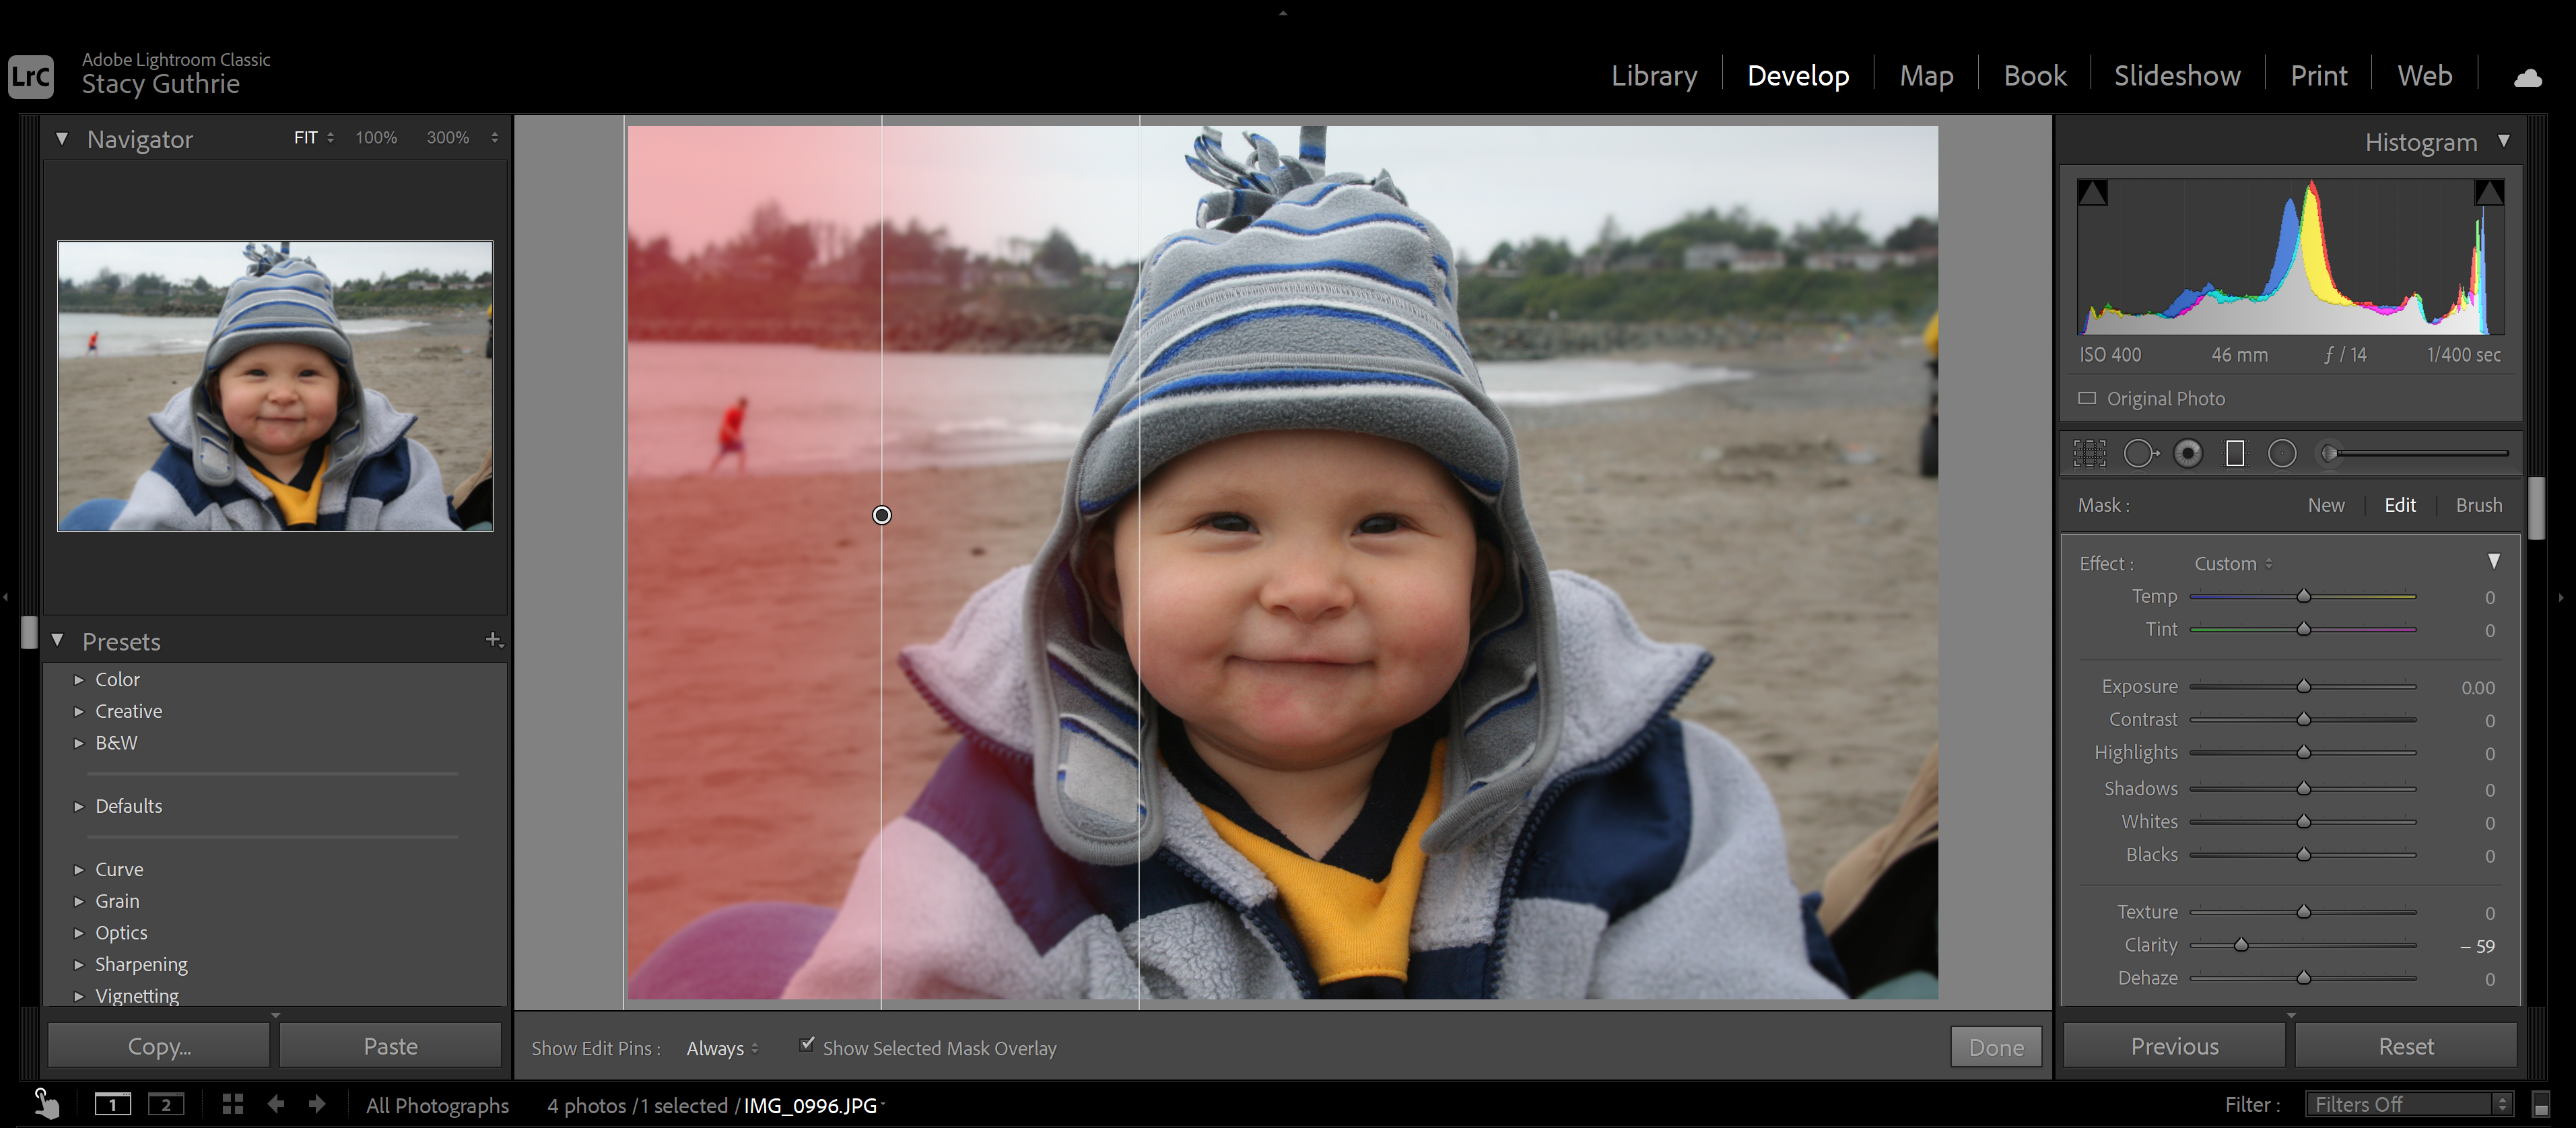
Step 1: Create a new mask
Create a new by clicking on the brush tool which is located just below the histogram on the edit panel to the right of your image. As you travel down the brush panel, you’ll notice that you have options for a brush A and a brush B as well as an eraser.
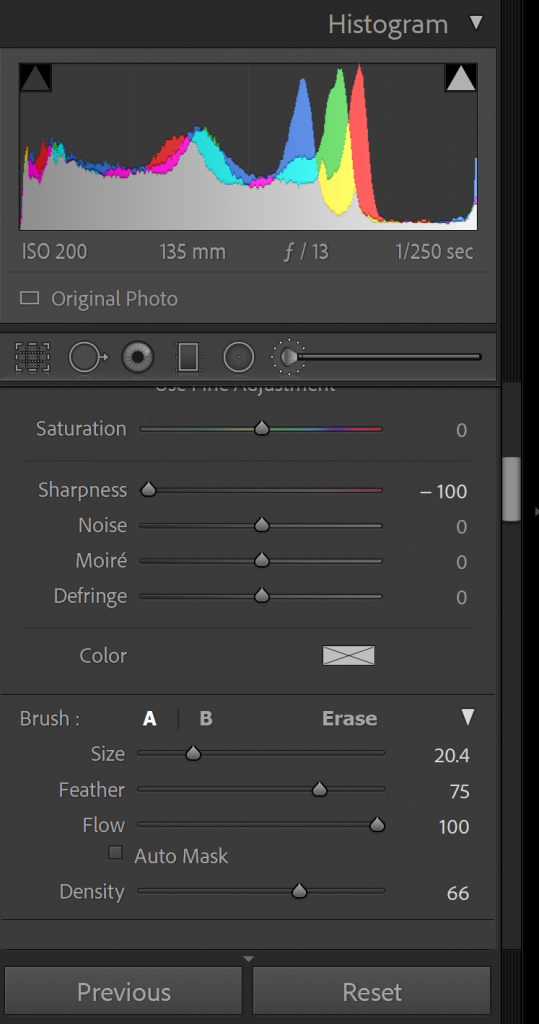
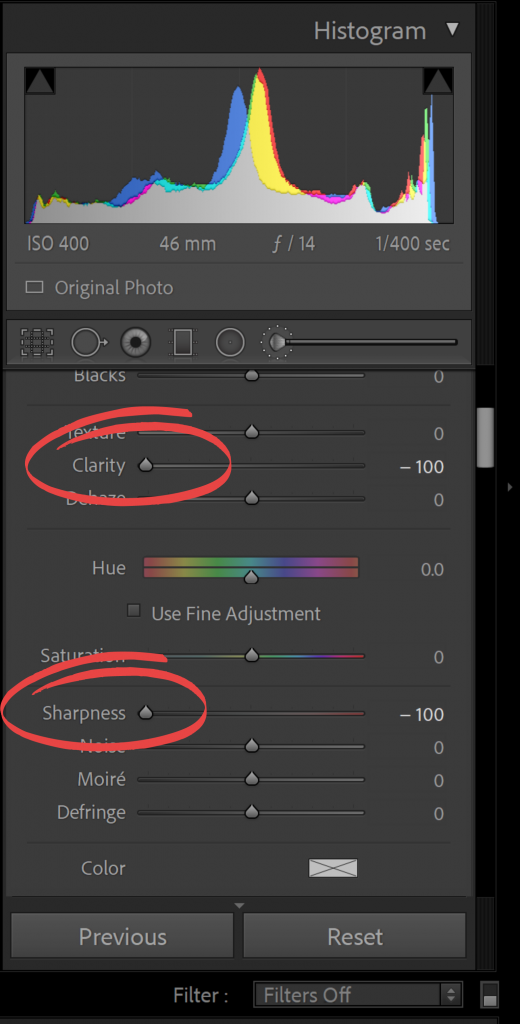
Step 2: Set Your Sharpness and Clarity
Set your sharpness slider control all the way to the left to -100 and also move your clarity slider all the way down.
Tip: Make sure the “Show selected mask overlay” box is checked in the gray bar below your image so you can easily see the areas where you’ve brushed. The keyboard shortcut is “O” to show or hide.
Step 3: Set your “feather” and “flow” control
Set your “feather” and “flow” control sliders to your liking. I like to start with my flow set to about 50 to start. You can create additional layers if you find you want to apply a bit more blur to the background in lightroom.
Step 4: Paint around the subject
Paint around the subject of your image with your adjustment brush. The areas you’ve brushed will turn red as you apply the mask overlay. You can switch between brushes as you like. Adjusting flow, feather, or the brush size won’t have any impact on what you’ve already brushed on your photos.
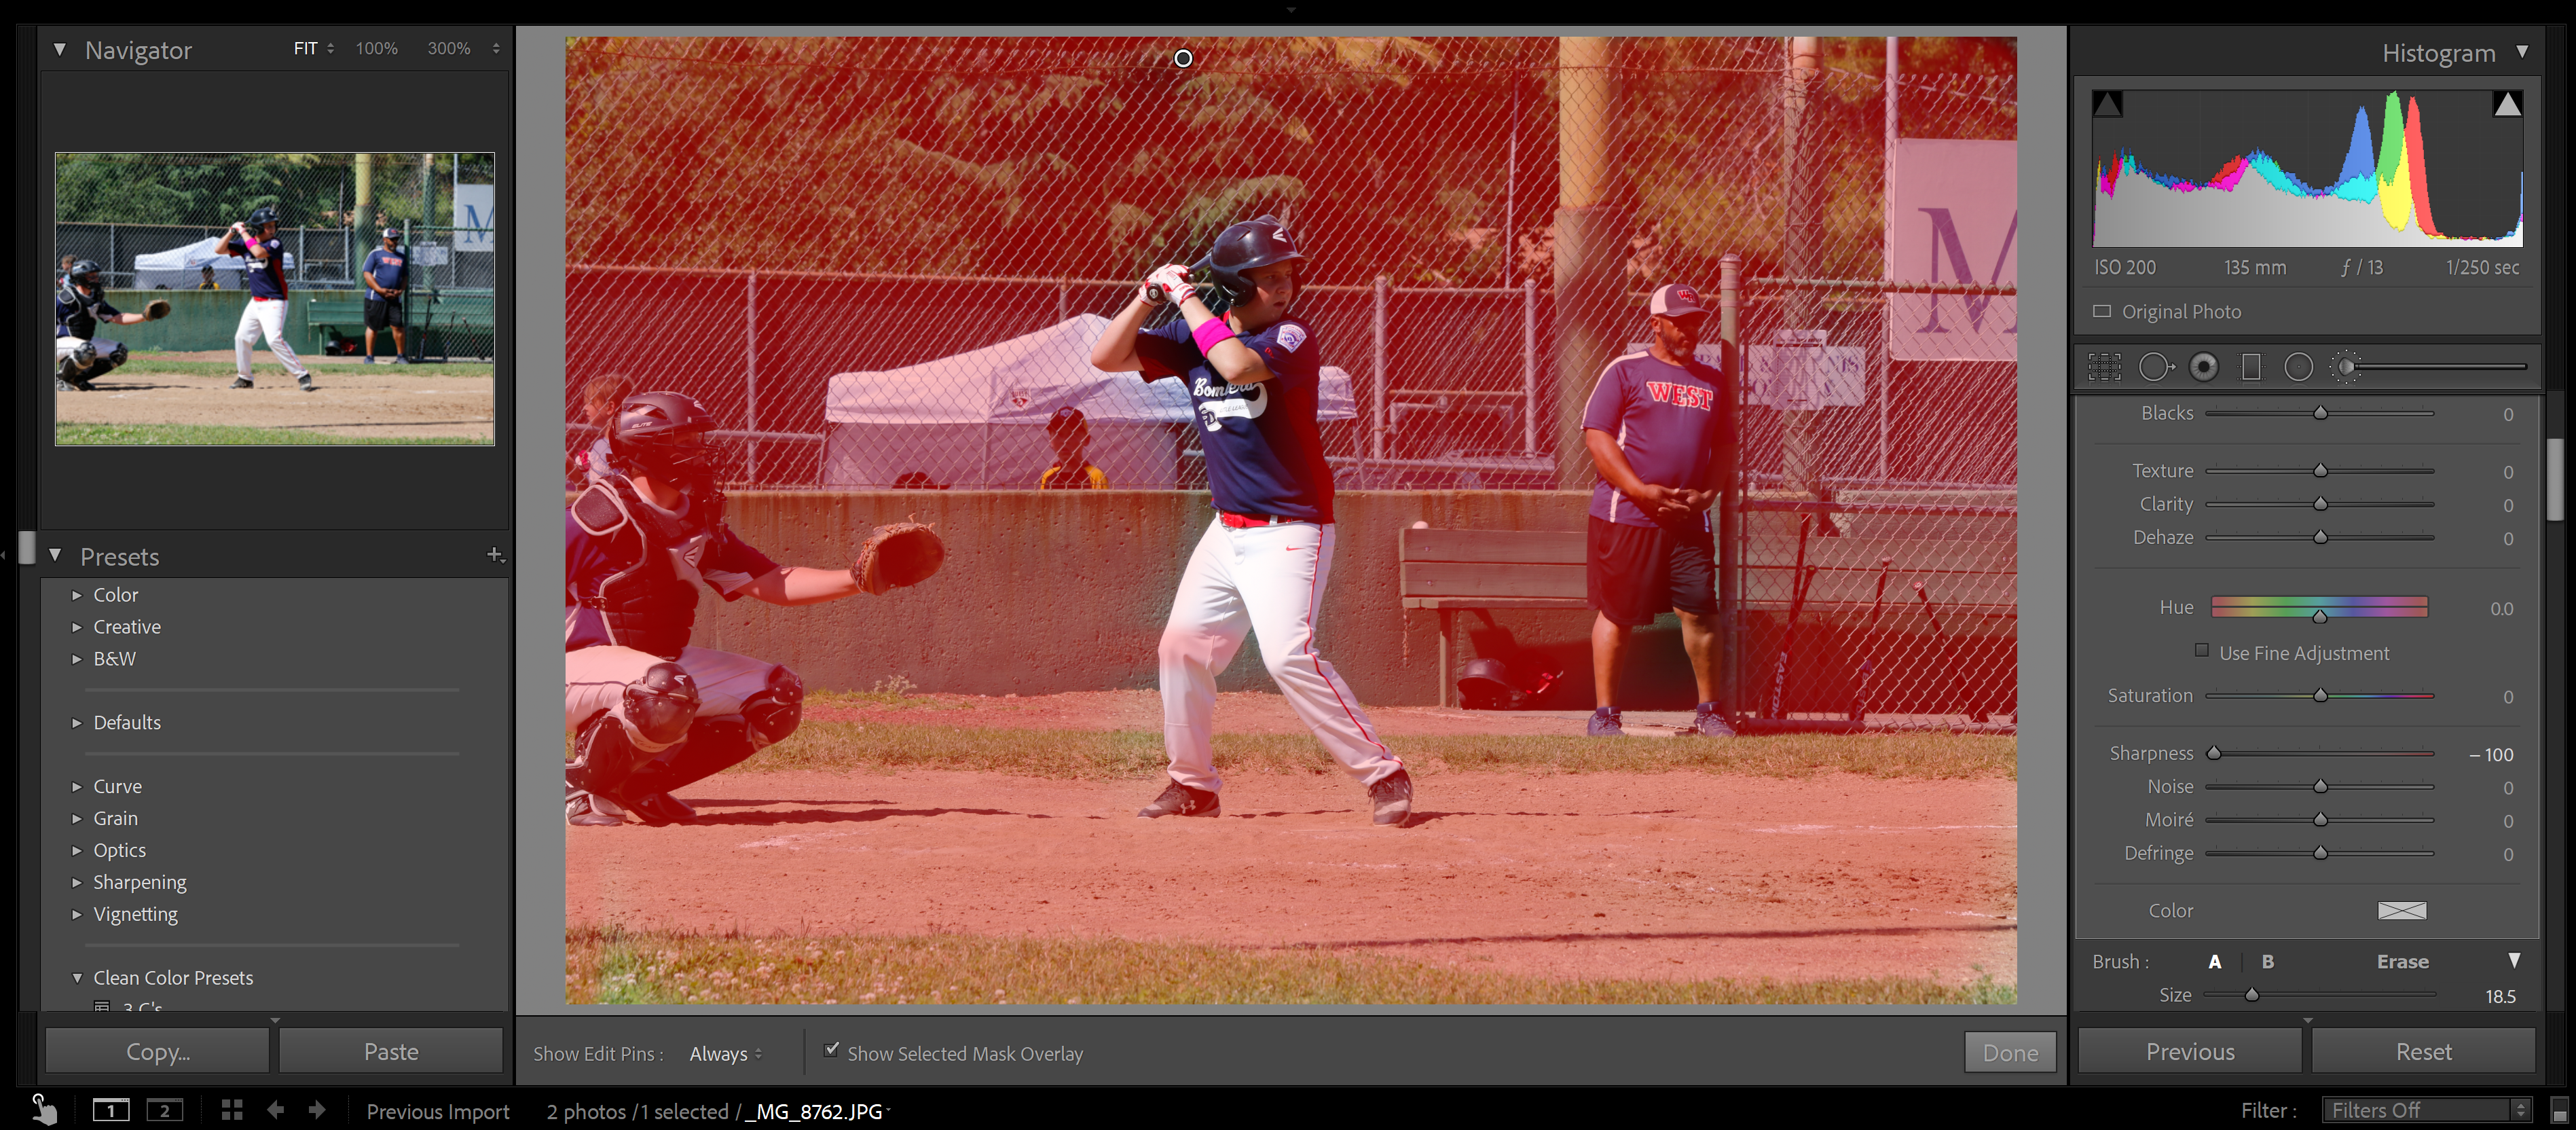
Tip: The more opaque the color of the mask, the stronger your blur effect will be.
Note:
If you paint any areas that you didn’t mean to, you can easily switch to “erase” and go back over the image, removing the mask (red part). This makes it very easy to control exactly where you select to blur.
You can increase your background blur without repainting by right-clicking on the adjustment marker (shown below) and clicking “duplicate”
Step 5: Revel in the Background Blur
Click the “Done” button below your photo and revel in the background blur that you have created with Lightroom!
Blur Using a Graduated Filter
The graduated filter in Lightroom is a great option to apply the blur effect on portraits or photos with one subject to focus on in the foreground and a noisy background.
Graduated Filters are a great middle-ground option for creating more blur to your backgrounds. The blur effect is very even and you also have pretty good control.
Step 1: Select the graduated filter from the tool panel. Once again, you will need to adjust the sharpness and clarity control settings all the way to the left for the most dramatic effect.
Step 2: Select the area you need to blur but rather than brushing on your mask as before, this time, you are going to pull your cursor from the side, top, or bottom of your image, depending on where you want to create the areas of blur/sharpness.
Step 3: Three lines will appear on your image. Adjust the distance between the lines to control how abrupt or subtle the blur effect becomes.
Step 4: You can place lines from multiple directions. Just click “Done” after each placement to save the placement. I pulled in from both sides for my photo.
You can, of course, use the “erase” brush to fix any parts of the image that got blurred accidentally.
Step 5: Click “Done” and export your photo.
Using Radial Filters for Blurring — The Fastest Way
Radial filter will be your fastest option to use for adding background blur to your photos in Lightroom. You won’t have as much control as you will with brushes; but it’s quick and a great option for portraits. Follow these steps to get the blur you want to see! I actually really like to save time with this method for my images.
Here is my SOOC photo:

Step 1: You’ll choose the radial filter tool from the panel in the develop module and once again, slide the sharpness to -100 along with the clarity.
Step 2: This time, you’re going to make an oval over the area that you want to remain in focus. Put your cursor on the area of the image you want to remain in focus and move it over the image. As you scroll, move it to one side or the other to control the width. The area outside the oval is the background you want to blur.
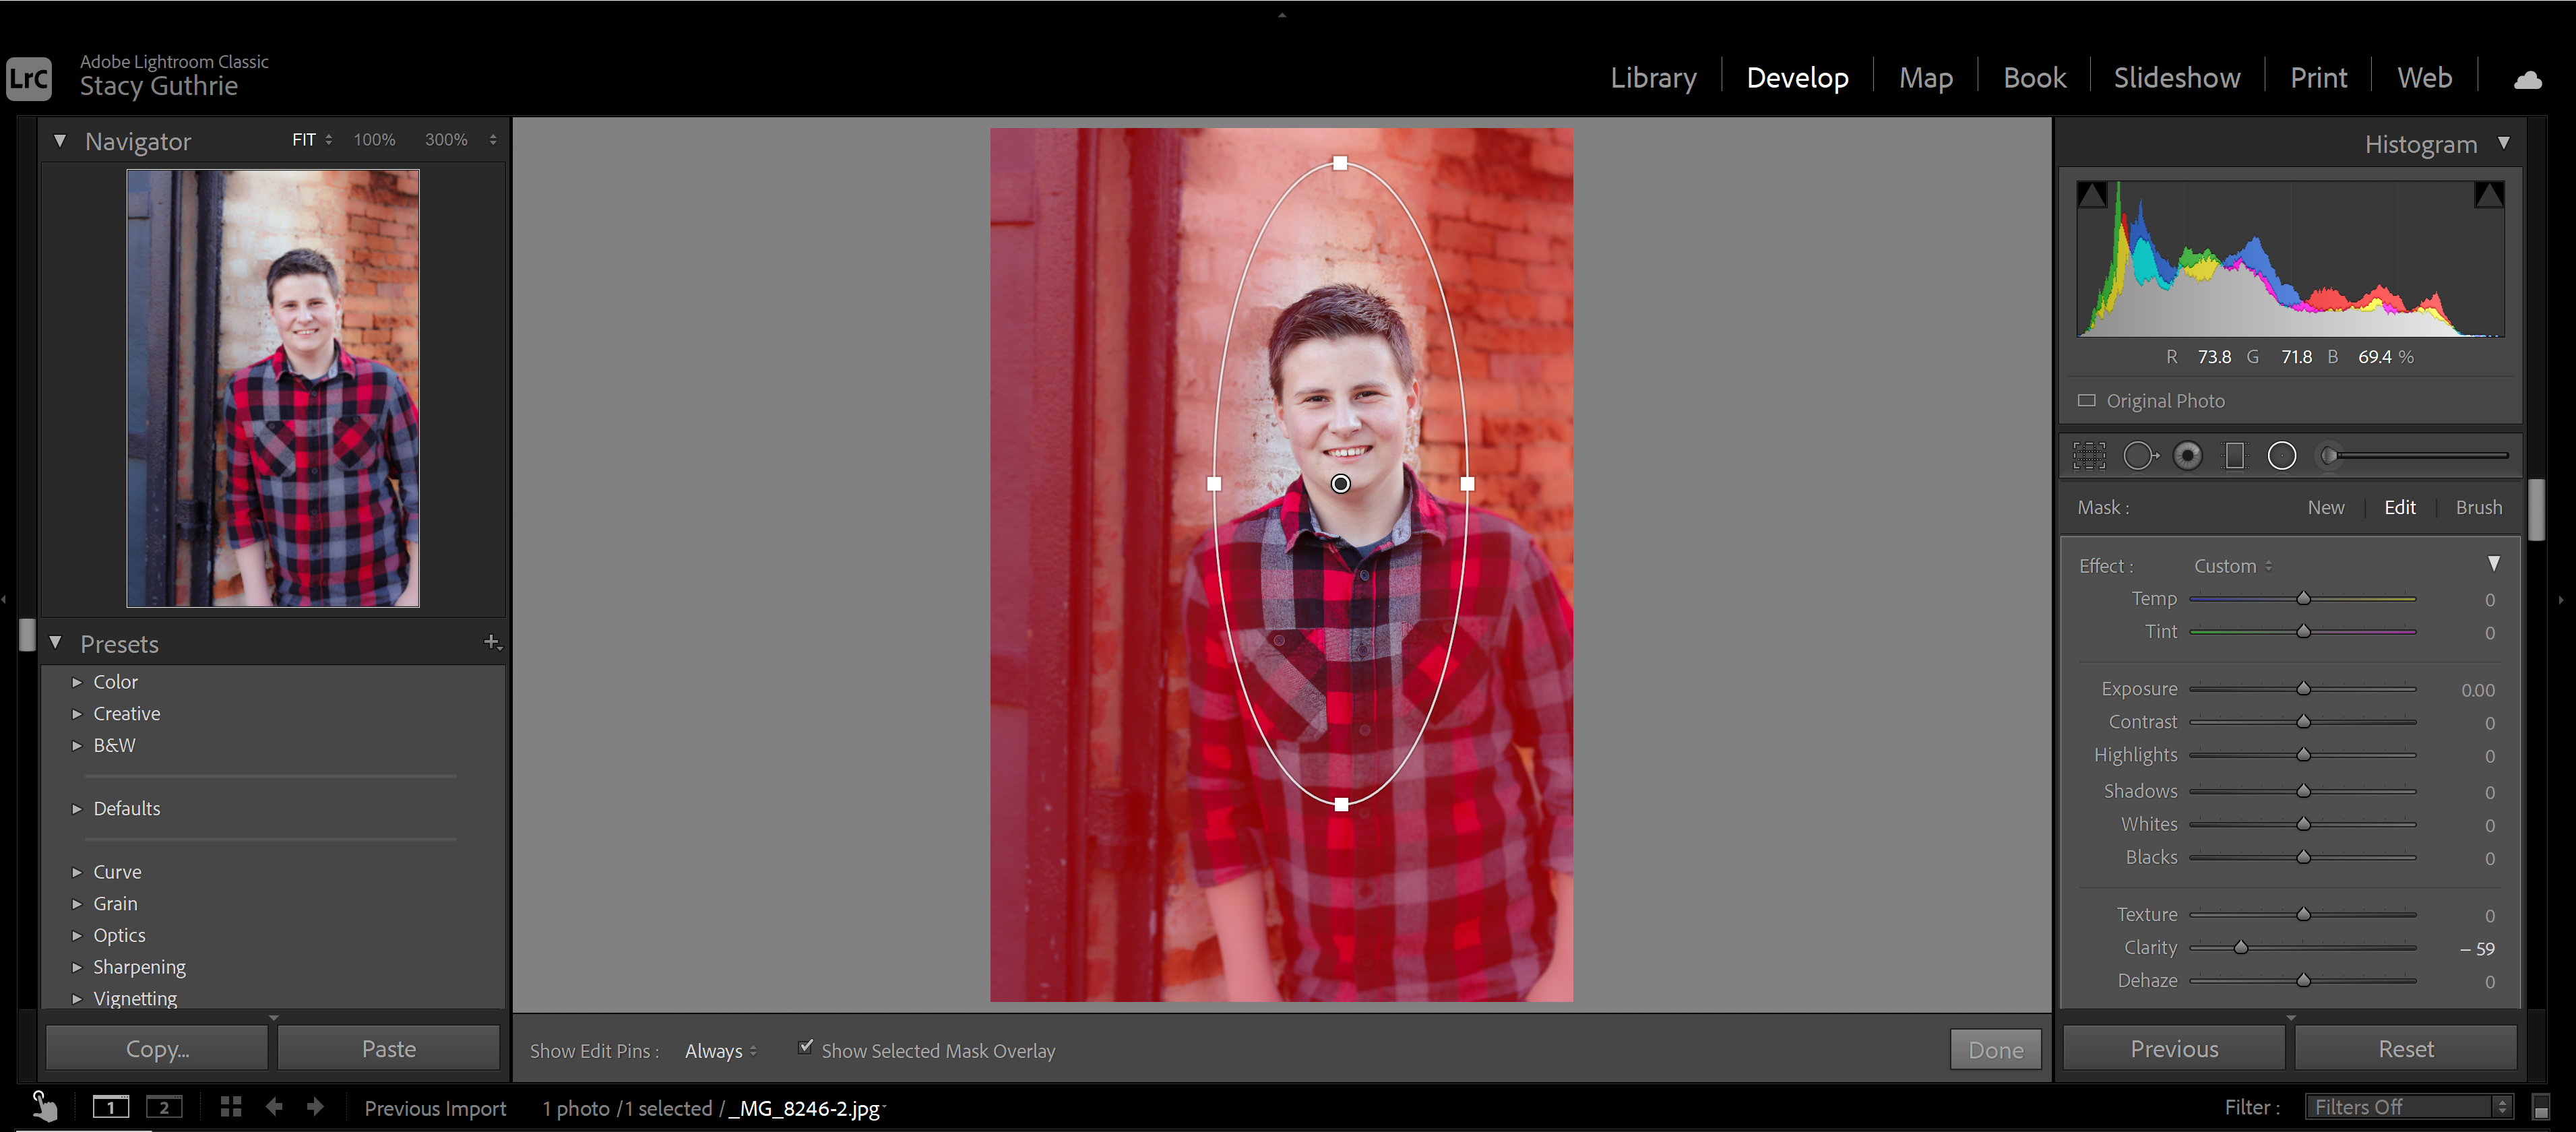
Step 3: Once again, you can use the erase brush to fix any errors.
Step 4: You may want to take this opportunity to adjust your clarity slider a bit since you don’t have the option of choosing a lighter opacity as you do with brushes.
Step 5: Click “Done”. Look at that beautiful background blur!
Some Helpful Hints…
As you go through the process of blurring the background in Lightroom, there are several things you need to remember…
First, no matter which method you choose—brush, graduated, or radial—you’re going to adjust the sharpness and clarity settings to -100. You can play around with this, but -100 will give you the most dramatic blur.
When adjusting your “feather”, keep in mind that the higher the number you use, the more drastic the blur will be in your image.
So, for example, if you want your blur from your subject to be very gradual, you will need your feather to be a smaller number.
If you find that after you’ve clicked “Done”, you still would like to get a little bit more background blur, you can click back on the tool (brush, radial or graduated) and a dot will appear on your photo.
This is the marker for your previous edit. Right-click on this marker and click “duplicate”. This will add another layer to the adjustment mask and thus a bit more blurry goodness.
Just be careful not to go too crazy.
Did you blur a bit too much? No problem – just use the same button to delete the previous layer or use the reset button to take your image back to its original settings.
I’m sure it goes without saying, but I’m gonna say it anyway…when editing portraits in photography, the eyes should always be the sharpest part of the photo.
You can’t ruin your photo. You’re in control. You can always hit the reset button.
Relax and don’t be afraid to play around with it. Using Adobe Lightroom photo editing software, you can take your photography to the next level.